Using a picture or image to scaffold the discussion or serve as a jumping-off point for a story.
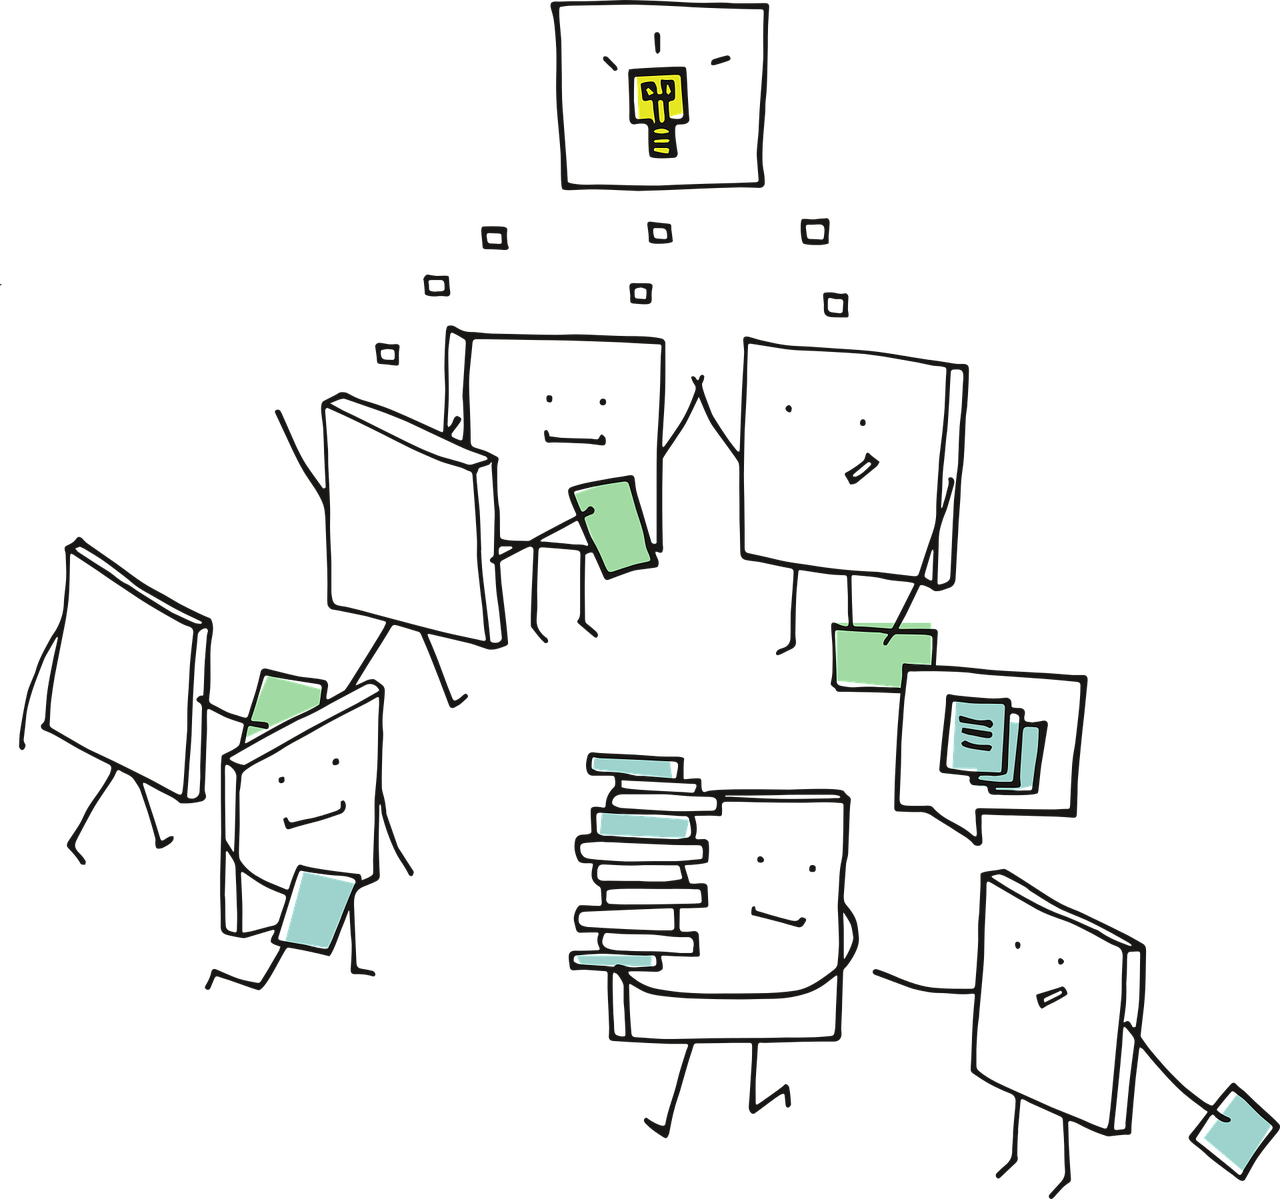
Image by Freepik
Just like Card Talk uses student-generated images to begin conversation, Picture Talk uses a teacher-selected image as a starting point for a wider discussion or as a jumping-off point for a story. This teacher-generated photo / image is used in conjunction with high-frequency verb posters, circling, pointing-and-pausing, and other techniques to aid comprehension.
The teacher selects a picture to project so that the entire class can see it. Then the teacher will begin to talk about the image using high frequency structures, ask questions about the image (circling), pausing and pointing, personalizing the discussion to students as applicable. Possibilities are endless! At a certain point, the teacher will finish up with a quick Write & Discuss activity to summarize what was said in a beautiful paragraph.

Featured video: Watch as Ngan Ta demonstrates Picture Talk in Vietnamese to a group of teachers at the HALT Summer Summit.
By Chris Stoltz
Benjamin Tinsley describes how you can use Maps and turn this strategy into Map Talk! He also describes Wordless Books as a series of Picture Talks. Brilliant!
The best kind of images to use for Picture Talk are what Spanish teacher Mike Peto refers to as "pictures loaded with story-telling potential." Images that might inspire students to imagine a bigger scene than what is depicted can be golden for getting a discussion rolling. Shocking images might produce laughter and initial engagement, but might fall short in terms of inspiring conversation.
You can decide if you want to focus on the image as the primary source of conversation or if you want your students to infer information and make up the context of the image. The image can be used to prompt a retell of a prior class story. Or the image can be setting the scene of a character you wish to develop for a future story. You could even put two images side by side and compare & contrast or describe one in the present and one in the past. The possibilities are endless!
Gauging the energy of the class is paramount to knowing if you're overwhelming your students or keeping them engaged. Picture Talk is not a strategy that fits into a box. You can vary this strategy in so many ways that it is nearly impossible to say how "long" you should spend on it. Start small - no more than 10 minutes - and as you get more comfortable, you'll find ways you want to extend and adapt this strategy!
A very useful strategy to use in combination with Picture Talk is TPR - Total Physical Response. This is a way to pre-teach important vocabulary through gestures to enable you to discuss the image. TPR gestures will help students better recall the meaning of the words and help them better comprehend the new vocabulary as you begin your discussion around the picture.

After the wonderful discussion had during picture talk, co-create a text with your students to recap what they know and to serve as a comprehensible reading passage that you can use later to do more input-based activities. As you write, ask clarifying, yes/no, either/or questions as a way to check for comprehension and engage them in the writing process. Compare and contrast, write what is and what isn't . Shelter vocabulary, not grammar!

Check for comprehension (aka formative assessment!) by getting your students moving. Ask yes/no or true/false questions based on the information discussed. If the answer is yes, students move (stand up, move to a new location, etc.) Ask a question with multiple options. Students move to a corner of the room that aligns with their chosen option. Play "simon says" using the TPR gestures taught during picture talk.
Using the write-up from write & discuss, do a quick quiz or written assessment. Students take out a piece of paper and answer true / false questions, either/or questions, or open-ended questions about the picture talk discussion. This falls under the "interpretive" category - students are receiving input and making sense of it, then demonstrating that comprehension.
Can-Do statements - have students self-reflect using Can-Do statements to see how they feel about their own capabilities. Free-writes - Give students 5 minutes to write down anything they can, bullet format or full sentences, drawing pictures or illustrations, to demonstrate their comprehension.
There are so many ideas for assessment! For a better, more comprehensive deep dive into assessments for standards-based and proficiency-oriented language teaching, read Martina Bex's article on assessments for language classes and standards-based grading. Also Scott Benedict's articles on assessments and standards-based grading.


Have you used Picture Talk in your classroom? Do you have tips, resources, a story or video demonstration to share? Drop me a line!

